Setting up a web server in Debian
- Setting up a web server in Debian
READ ME
This guide assumes the following:
- You have installed Virtualbox
- You know how to create a Debian virtual machine
Video
Requirements
- Hypervisor: VirtualBox
- Host OS: Windows 11/10 or MacOS (Intel/Apple Silicon)
- Guest OS: Debian 13 (NO GUI)
- Server Application: Apache
- SSH:For remote management of the server virtual machine
- Git/GitHub: To Upload files to the web server
Host Machine System Requirements
- CPU: Quad core CPU or higher
- RAM: 8GB or More
- Free Storage: 60GB or more
Guest Machine System Requirements
- CPU: 1 Core
- RAM: 1 GB
- Storage: 10 GB
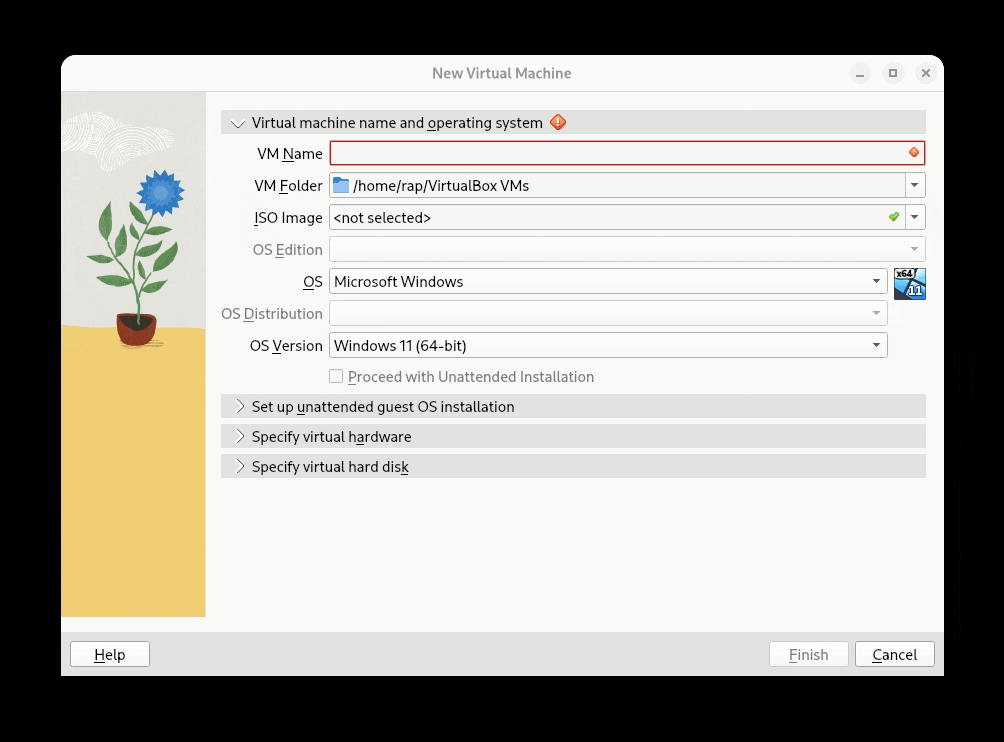
Step 1: Create a virtual machine
Files to download:
- Download the Debian ISO. Which Debian ISO Should You Download?
| Your Computer Type | CPU Type | ISO File to Download | Download Link |
|---|---|---|---|
| Windows 11/10 | Intel or AMD (x86_64) | debian-13.0.0-amd64-netinst.iso | Download -> Click the black Download button |
| macOS (Intel) | Intel (x86_64) | debian-13.0.0-amd64-netinst.iso | Download -> Click the black Download button |
| macOS (Apple Silicon) | ARM (arm64) | debian-13.0.0-arm64-netinst.iso | Direct Link |
- Create a virtual machine where Debian will be installed that meets the following specifications:
- RAM: 1GB
- CPU: 1
- Storage: 20GB
- Follow the steps in this presentation as a general guide and adjust the settings accordingly.
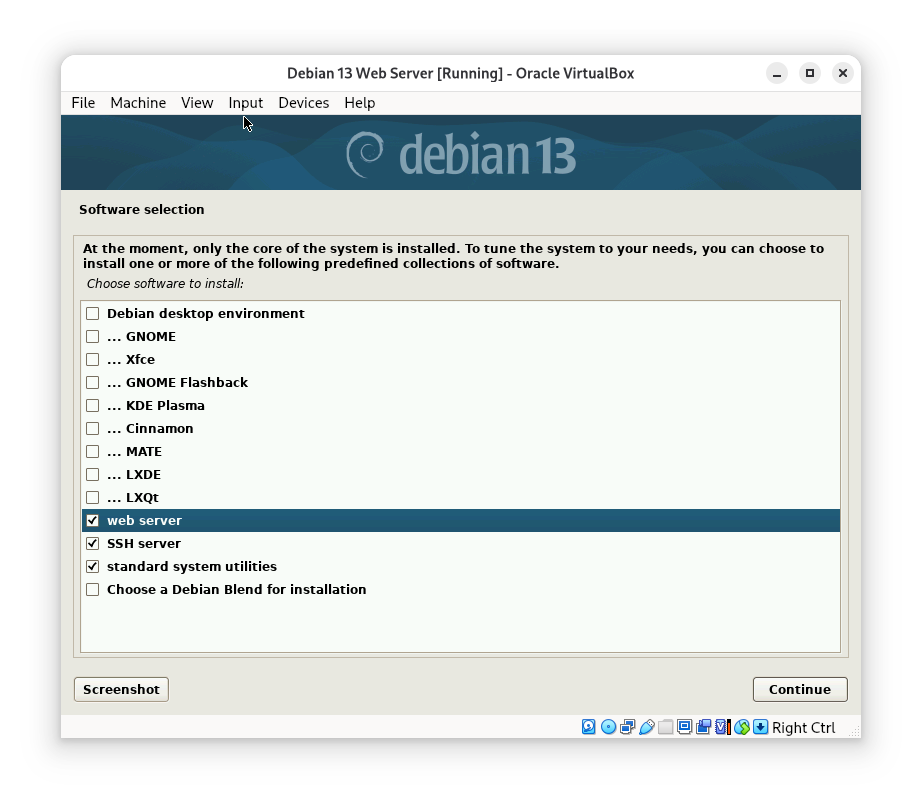
Step 2: Install Debian
- Turn on the virtual machine and install Debian.
- Follow the steps in this presentation as a general guide. Please do not install a desktop environment as we wont need one. When you get to this step, pick: Web Server, SSH Server, and Standard System Utilities
Step 3: Update
- Once the Debian is installed, the virtual machine will reboot. This virutal machine does not have a desktop environment so we will be presented with a TTY to sign to. Enter your username and password.
- Update Debian using the following command:
sudo apt update && sudo apt upgrade -y
Step 4: Configure the server
1. Configure the firewall
First, let’s install, enable, and configure the firewall.
- Install:
sudo apt install ufw - Enable:
sudo ufw enable - Configure:
sudo ufw allow 'WWW Full'sudo ufw allow 'OpenSSH'
You can learn more about ufw here
2. Check Running services
- Check that Apache is enabled and running. Use the following command:
systemctl status apache2
- Check that SSH is enabled and running. Use the following command:
systemctl status ssh
- Check that UFW is enabled and running. Use the following command:
systemctl status ufw
- If any of these services are not running, enable them and restart them. You can lear more abo0ut the
systemctlcommand here.
3. Check if the web server is working
At this point you should be able to see the default apache index.html site. The easiest way to see if the web server is hosting something is by using curl or wget. Since wget is installed by default, use the following command to download the index.html document that is currently being hosted by the server:
wget localhost
# You can also use this alternative command:
wget 127.0.0.1
Take a look at the index.html file. It should be Apache’s Home page.
ls -l index.html
less index.html # press q to exit
Step 5: Remote Access to the server
Understanding the virtual machine networking
Depending on the network configuration of your virtual machine you may not be able to reach your web server from outside of your virtual machine. Take a moment to look at the network settings of your virtual machine:
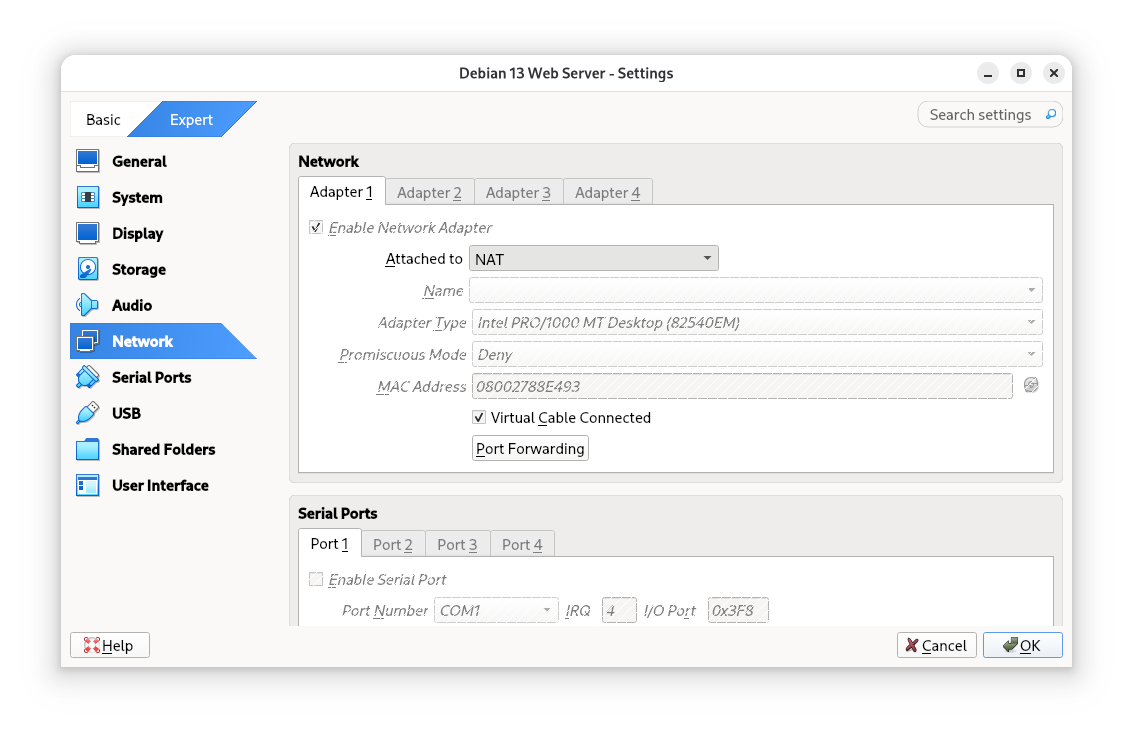
The “Attached to” configuration has the following options (See the Introduction to Networking Modes in VBOX documentation)
- Not attached: In this mode, Oracle VirtualBox reports to the guest that a network card is present, but that there is no connection.
- Network Address Translation (NAT): In this mode, your virtual machine connects to the internet via your host machine. The virtual machine is isolated. This isolation makes your virtual machine not reachable from other computers in your network.
- NAT Network: This mode allows you to use NAT between your VMs, as well as with external connections. You first have to create the NAT Network service that you want to use, and then select NAT Network as the network mode.
- Bridged networking: This is for more advanced networking needs, such as network simulations and running servers in a guest. When enabled, Oracle VirtualBox connects to one of your installed network cards and exchanges network packets directly, circumventing your host operating system’s network stack. This is the easiest way to setup a server in a virtual machine!
- Internal networking: This can be used to create a different kind of software-based network which is visible to selected virtual machines, but not to applications running on the host or to the outside world.
- Host-only networking: This can be used to create a network containing the host and a set of virtual machines, without the need for the host’s physical network interface. Instead, a virtual network interface, similar to a loopback interface, is created on the host, providing connectivity among virtual machines and the host.
- Cloud networking: This can be used to connect a local VM to a subnet on a remote cloud service.
- Generic networking: Rarely used modes that share the same generic network interface, by allowing the user to select a driver which can be included with Oracle VirtualBox or be distributed in an extension pack.
This information was extracted from Virtualbox Documentation.
For this project, we will use either NAT with Port Forwarding or Bridge Adapter. The easiest of the two options is Bridge Adapter because all we need to do is change the Attached to Setting to “Bridge”. This will allow our VM to get an IP address from your Home Router and it will be just another computer in your network. However, for some people, this is not possible because their network interface card does not allow them to use Bridge mode. Some routers also may reject a Bridged Network adapter. For example, in the College Network, we cannot use Bridge Network Adapter because the router rejects the connection. So the first thing we need to do is figure out if we can use Bridge Network Adapter.
How to tell if you can use Bridge Network Adapter
- Turn off your virtual machine and then change the network adapter settings to “Bridge Adapter”
- Start your virtual machine and sign in
- Type the command:
hostname -Ito see if your virtual machine gets an IP address. If it gets an IP Address, write it down. - Find out the IP address of your host machine (Windows/MacOS)
- For Windows
- For MacOS
- Compare the IP address of your server virtual machine and the host OS. Notice that they are similar. Either the first 2 or first 3 octets need to be the same (depending on your networks subnet mask). For example:
- Host OS:
192.168.1.09 - VM OS:
192.168.1.11
- Host OS:
- This is because of how IP Version 4 works. In IPV4 we have the concept of Subnet mask. The subnet mask tells which part of that address is the network and which part is the host.
- If your virtual machine got an IP address, and said IP looks like your host IP, then you can use Bridge Network adapter.
- If your virtual machine did not get an IP address, then you cannot use “Bridge Network Adapter”. Please use NAT with Port Forwarding.
More on this IPV4 stuff!
- An IPv4 address is 32 bits, usually written like 192.168.1.10.
- A subnet mask is also 32 bits, like 255.255.255.0. How they relate:
- Line up the address and the mask in binary.
- Wherever the mask has 1s, that part of the IPv4 address is the network ID.
- Wherever the mask has 0s, that part of the IPv4 address is the host ID (the device inside that network).
| What it means | Human readable | Binary |
|---|---|---|
| IP Address: | 192.168.1.10 | 11000000.10101000.00000001.00001010 |
| Network Mask: | 255.255.255.0 | 11111111.11111111.11111111.00000000 |
| Network ID: | 192.168.1.0 | 11000000.10101000.00000001.00000000 |
| Host ID: | ————————–.00001010 |
So how do we read the IP Address 192.168.1.10/24? Simple! The device 10 on the 192.168.1 network
- Network part = 192.168.1
- Host part = 10
This specific network mask configuration allows for up to up to 254 devices.
But what does that /24 mean? Well, since IPV4 uses 32 bit addresses, it means that each octet has 8 bits (8x4=32). So the network mask as 3 populated octets (3x8=24). We call this a CIDR notation (Classless Inter-Domain Routing). In plain english it means: “the first 24 bits of the IPv4 address are the network part”.
How to use NAT with Port Forwarding
What is port forwarding?
A port is like a numbered door on an IP address. It lets a computer run many different network services on the same IP without mixing them up. For example, HTTP(S) runs on ports 80 and 443 respectively. SSH runs on port 22 and FTP on port 21. When you connect to an IP, you’re really connecting to an IP + port pair (called a socket). The computer receiving the request knows which port to use for each request.
The issue is that in our case we are using a virtual machine with a NAT network. Therefore in order to penetrate this NAT network, we need to tell Virtualbox that every request that arrives to a custom port be routed to the virtual machine. That is what port forwarding does.
Port forwarding is when traffic that arrives at a certain port on one machine is forwarded to another machine and port.
In our virtual machine setup, the virtual machine has an internal only IP Address (NAT). This VM cannot accept external requests. With port forwarding, you are configuring the host so that if any traffic on a given custom port arrives, we will send it over to the virtual machine port. So in a nutshell, it creates a tunnel where communication can come in and go out!
How to enable port forwarding
- Open the virtual machine network settings and make sure the adapter is set to NAT
- Click on Port Forwarding and add the rules as they are shown in the image below:
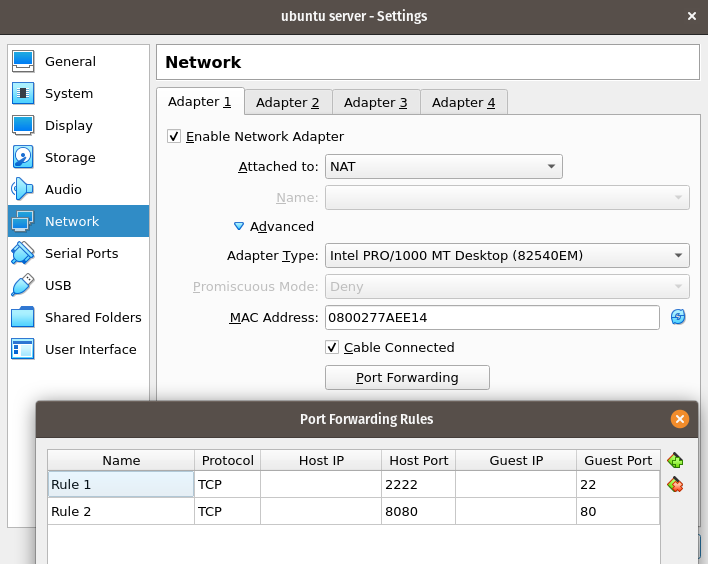
- Since we are setting a web server, we need to forward port 80 as http runs on port 80
- We will be using SSH to administer the server therefore we need to forward port 22
Step 6: Managing our Server Virtual Machine from the Host
Currently, every time we need to do anything on the server VM, we need to turn on the virtual machine and sign in directly in the virtual machine TTY. If you have physical access to the server, this is fine. However, that is not how things work in the real world. Most of the time, you are configuring servers that are not on premise. Either they are hosted on the Cloud, VPS (virtual private server), or they are virtual machines running on a virtualization server. There is also the concept of containers which work similarly like virtual machines.
This is where SSH comes into play. SSH (Secure Shell) is a protocol that lets you securely connect to another computer over a network. SSH uses encryption to protect login credentials and data in transfer. It uses port 22 by default. SSH is also used for transferring files securely. As an IT, computer science, and web development student, it is canonical that you learn the fundamentals of SSH.
How do I use SSH
This is the general formula for using ssh with and without port forwarding:
- In the formula, the specified port is 2222 because that is the custom port we are forwarding from our host machine (127.0.0.1) to the server virtual machine.
- If we were to connect from another computer that is not our host machine then we would need to replace the local host IP address with the actual IP address of the machine.
How do I connect to my virtual machine from my host machine
- Windows, MacOS, and most Linux distributions have ssh already installed. All you need to do is open your terminal application:
- On Windows is PowerShell
- On MacOs is Terminal
- On Linux, well, whatever is your preferred terminal application
- Then type the SSH command that fits your network configuration. For example:
- If I am using Bridge Network Adapter, and my virtual machine’s IP Address is
192.168.1.157then my command would be:ssh rap@192.168.1.157
- If I am using NAT with Port forwarding, then my the command I would use is:
ssh -p 2222 rap@127.0.0.1
- If I am using Bridge Network Adapter, and my virtual machine’s IP Address is
Here is an example using Bridge Network Adapter
Here is an example using NAT with Port Forwarding
Step 7: Adding content to our web server
Our server stores all the files in /var/www/html/ by default. That is the directory where we will place all of our pages. By default, this directory is owned by root and regular users cannot place data there. So we will change the permissions of the /var/www/html directory so that we can create and modify files there.
- Use the chown command to change the ownership of the directory:
sudo chown -R $USER:www-data /var/www/html - Use the chmod command to change the permissions of the folder:
sudo chmod -R 775 /var/www/html
Now, we can create html documents in our host machine and upload them to the server using SSH. This is something we will work on later. For now, lets test our web server with an already built website.
- In your host machine, go to this page: html5up.net and download one of the templates. I will choose this one.
- There are many ways to upload files to the server. In this guide, we will 2 ways:
Uploading files using SCP - Alternative 1: Using the command line
- The command for uploading files via SCP when using port forwarding is:
scp -P port file-to-upload remote-username@127.0.0.1:/path/to/place/file - So in my case the command would be:
scp -P 2222 ~/Downloads/html5up-paradigm-shift.zip rap@127.0.0.1:/var/www/html - The command for uploading files via SCP when using Bridge Network Adapter is:
scp file-to-upload remote-username@remote-server-ip-address:/path/to/place/ - So in my case the command would be:
scp ~/Downloads/html5up-paradigm-shift.zip rap@192.168.1.157:/var/www/html
Here is the port forwarding example expanded:
Uploading files using Filezilla - Alternative 2: Using a graphical application
- Install the FileZilla application in your host machine. You can download it from here: filezilla-project.org. You need the FileZilla Client, not the server! If you are using Linux as your host OS, install Filezilla from your repository.
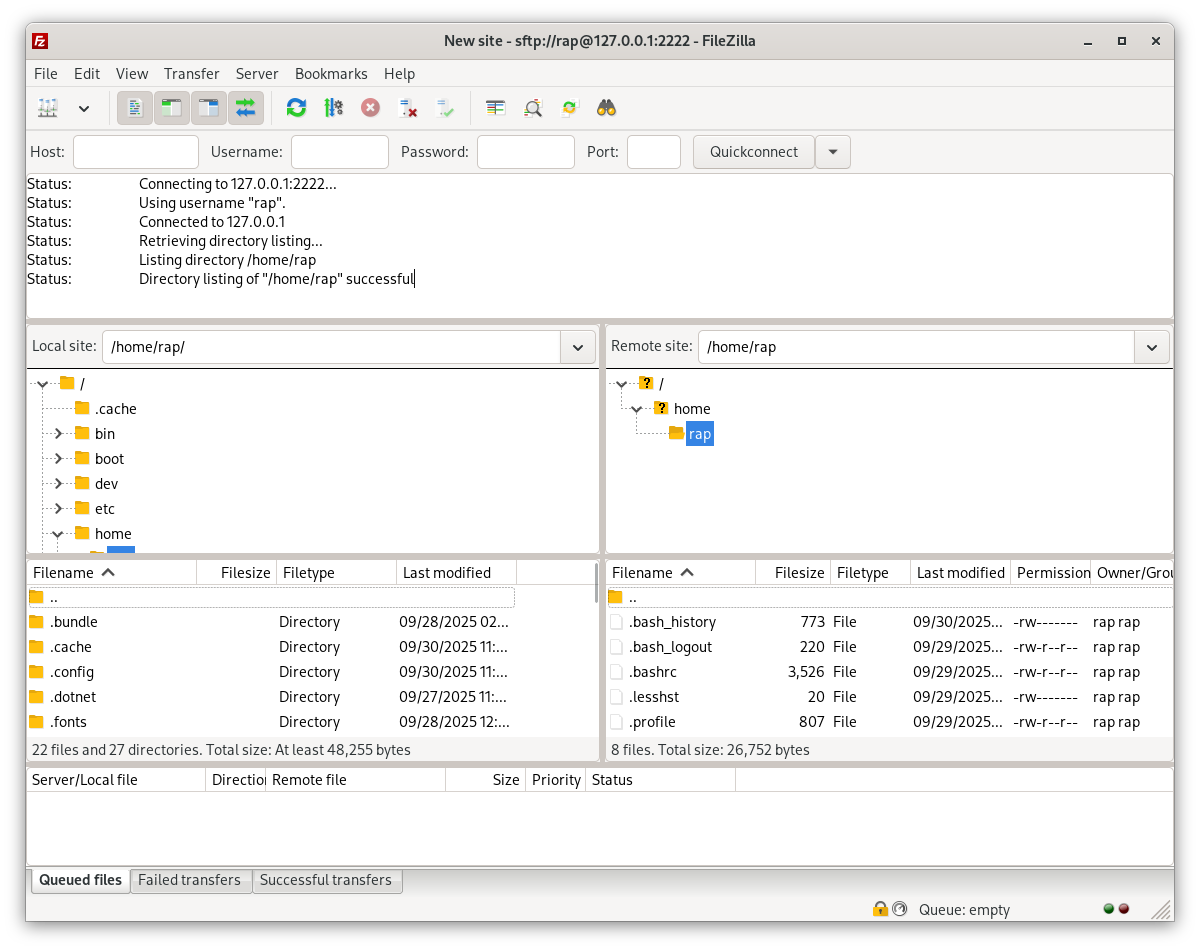
- After you install fileZilla, open it.
- Click on File -> Site Manager -> New Site
- Change the following settings:
- Protocol: SFTP - SSH File Transfer Protocol
- Host:
- If you are using Bridge Network Adapter: Use the IP address of your virtual machine. In my case it is 192.168.1.157
- If you are using NAT Port Forwarding use: 127.0.0.1
- Port:
- If you are using Bridge Network Adapter use: 22
- If you are using NAT Port Forwarding use: 2222
- Login Type: Normal
- User: your user name in the server. In my case, it is
rap - Password: your password to sign in to the server
- Click on OK
- Click on the drop down and select your new connection
- You will be presented with an unknown host key message. Click ok
- Now you have successfully connected to your server
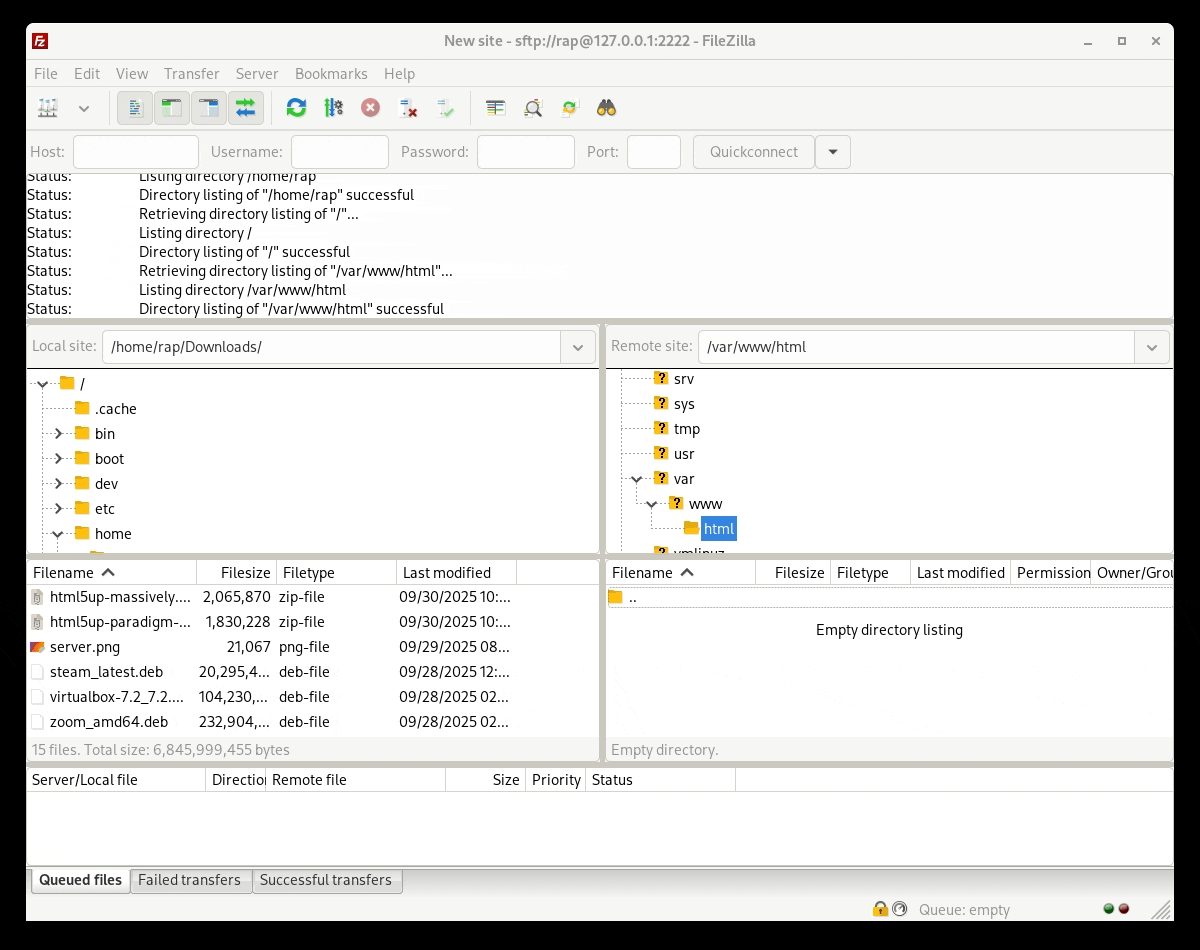
How do I add files?
- The left panel represents your host machine. Navigate to the location you have the zip file
- The right panel represents your server. Navigate to /var/www/html/
- Drag and drop the zip file from the left to the right
Step 8: Using Git in our server
At this point, we already know how to upload files to our server. However, it would be much more efficient if we could just store everything in a Github repository and then clone the repository in our server. That will allow us to work on our website and when we are ready to publish the changes, we just pull the latest updates from the server.
Here is an example of this workflow
- Sign in to GitHub and create a repository called
portfolio - Clone the repository in your host machine or the computer that you use to write code
- For students taking CIS106, this would be your Desktop Virtual Machine
- To clone the repository use the command:
git clone https://github.com/github-username/portfolio
- Open the local repository (portfolio folder) in VS Code
- Create a markdown file called
index.md - Write your resume in markdown and when you are done convert the file to html.
- Note For CIS106 Students:
- Your index.md file should include a general idea of how you expect your resume to look like when you graduate.
- Please include a section for Projects and in there link to your github repository
- You have full creative freedom in this part. I suggest not to put real contact information like phone numbers or email addresses.
- Note For CIS106 Students:
- Push your changes to your GitHub repository
- Ssh into your server and clone your repository in the directory:
/var/www/html - Now, from your host computer you can see your webpage using the following URL.
- Port Forwarding:
http://127.0.0.1:8080/portfolio/ - Bridge Network:
http://192.168.1.157/portfolio/
- Port Forwarding:
- In the future, for any changes you make, simply follow these general steps.
- Push the changes to GitHub
- SSH into the server
- cd into the local repository:
cd /var/www/html/portfolio - Pull the latest changes:
git pull